Build Your First Website with Online HTML Editor
Feeling overwhelmed by the thought of creating a website? You're not alone! Many aspiring web developers and learners get intimidated by complex tools and coding environments. But how do you build a website for beginners with zero setup? What if you could create your first page in just 15 minutes? This tutorial will guide you through creating a simple, functional webpage using a free and intuitive online html editor. We'll prove that web development can be simple, visual, and fun. Get ready to turn your ideas into a live page, instantly, with this powerful online coding tool.
Getting Started with Your Online HTML Editor
Before we write a single line of code, let's understand why an online tool is the perfect starting point for your journey. It removes all the technical barriers, allowing you to focus purely on learning the language of the web: HTML.
Why Choose an Online Tool for Your First Website?
Starting with web development can feel like learning to drive a car and being asked to build the engine first. Traditional methods often require you to set up a local development environment, which involves installing software, configuring text editors, and managing files. This can be frustrating for a beginner.
An online HTML editor simplifies everything. There is no installation needed; you just open your browser and start coding. It provides instant visual feedback, which is crucial for understanding how code translates into a visual webpage. This immediate cause-and-effect relationship accelerates learning and makes the process far more engaging. With a tool like an HTML file viewer, you get a sandbox to experiment freely without any risk.
Navigating Our Editor: Your Workspace for HTML Viewing and Editing
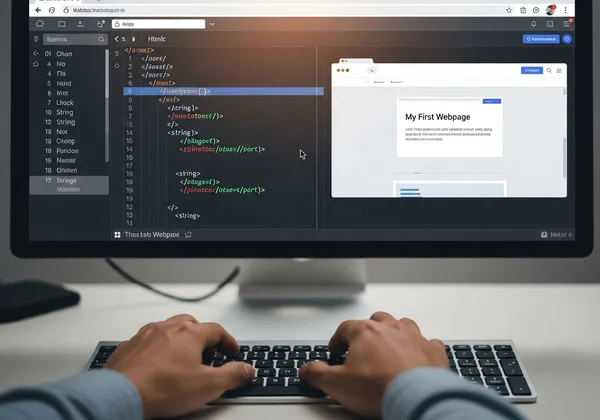
When you first visit our online HTML editor, you'll see a clean, two-panel layout. This is your digital workspace, designed for maximum efficiency.
-
The Left Panel (Code Editor): This is where you will write and edit your HTML code. It's a simple text area ready for your input. You can type directly, or paste code from other sources.
-
The Right Panel (Live Preview): This is the magic window. It instantly renders your HTML code, showing you exactly what your webpage looks like in real-time. Every time you type a character in the editor, the preview updates automatically.
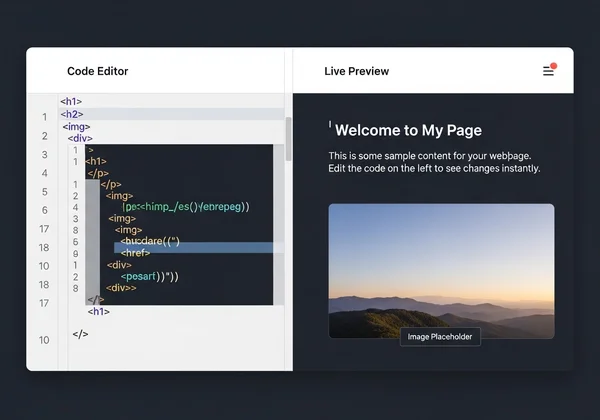
This "what you see is what you get" environment is the perfect way to learn. You can make small changes and immediately see the impact, helping you build an intuitive understanding of HTML. Ready to begin? Let's jump into your coding playground.
Mastering Basic HTML Structure: A learn html fast Approach
Every single webpage on the internet, from the simplest blog to the most complex application, is built on a fundamental HTML structure. Learning these core elements is your first major step toward becoming a web creator.
The Essential Skeleton: <!DOCTYPE>, <html>, <head>, and <body>
Think of this as the skeleton of your webpage. Every HTML document needs these four essential tags to function correctly.
<!DOCTYPE html>: This declaration is always the very first line. It tells the web browser that the document is an HTML5 page.<html>: This is the root element that wraps all the content on the entire page.<head>: This section contains meta-information about your webpage that isn't displayed on the page itself. This includes things like the page title (which appears in the browser tab), character set, and links to stylesheets.<body>: This tag encloses all the visible content of your webpage—the headings, paragraphs, images, links, and everything else your visitors will see.
Let's put it together. Copy the code below and paste it into the left panel of the online HTML editor.
<!DOCTYPE html>
<html>
<head>
    <title>My First Website</title>
</head>
<body>
    <!-- We will add content here! -->
</body>
</html>
You won't see anything in the live preview yet, but you've just created a valid, structured HTML document. Notice the title "My First Website" appearing in your browser tab!
Adding Your Personal Touch: Headings (<h1>-<h6>) and Paragraphs (<p>)
Now, let's add some visible content inside the <body> tags. The two most common elements for text are headings and paragraphs.
- Headings (
<h1>to<h6>): These are used to define titles and subtitles.<h1>is the most important heading (usually the main title of the page), and<h6>is the least important. Search engines use these headings to understand the structure and topic of your content. - Paragraphs (
<p>): This tag is used to wrap blocks of text.
Let's replace the <!-- We will add content here! --> line from the previous step with the following code. As you type, watch it appear in the live preview tool.
<h1>Welcome to My Awesome Website!</h1>
<h2>This is a subtitle about my journey.</h2>
<p>This is my very first paragraph. I am building this website from scratch using an amazing online HTML editor. It's much easier than I thought it would be!</p>
<p>Here is another paragraph, just for practice.</p>
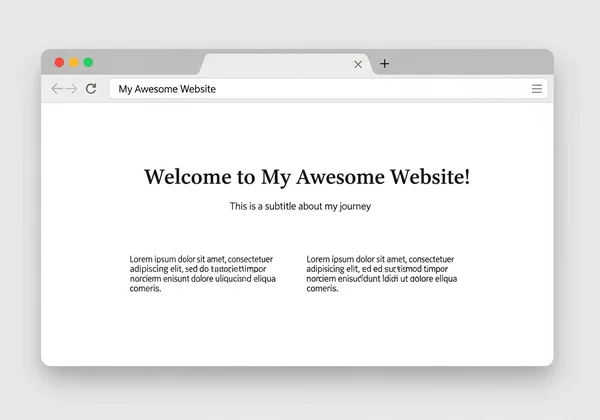
Instantly, you have a structured page with a clear title and text. Experiment by adding more headings and paragraphs to get a feel for how they work.
Enhancing Your my first html page: Images and Links
A webpage with only text is a bit boring. Let's bring your page to life by adding images and links—two of the most fundamental components of the web.
Bringing Visuals to Life: Embedding Images with <img>
The <img> tag allows you to embed an image into your page. It's a self-closing tag and requires at least two attributes:
src: This stands for "source." It specifies the URL or path to the image you want to display.alt: This stands for "alternative text." It provides a text description of the image for screen readers and also displays if the image fails to load. Thealttext is crucial for accessibility and SEO.
Let's add an image below your last paragraph. We will use a placeholder image from the web.
As soon as you add this line in the HTML view, a gray box representing the image will appear. Using images makes your content more engaging and visually appealing.
Connecting Your Content: Creating Hyperlinks with <a>
The web is all about connections. The hyperlink, created with the <a> tag (which stands for "anchor"), is what makes this possible. It allows you to link from your page to other pages on the web. It requires one main attribute:
href: This stands for "hypertext reference" and contains the URL you want the link to point to.
Let's add a link at the bottom of our page. This link will encourage visitors to try the tool we are using.
You will now see a clickable link in your live preview. You've successfully connected your page to another!
Previewing, Saving, and Sharing Your Web Project
You've built your first webpage! Now, let's cover the final steps: leveraging the tool's features to finalize and save your work.
Instant Feedback: The Power of Real-Time Preview
Throughout this entire process, you've benefited from the most powerful feature of an online editor: the real-time preview. This instant feedback loop is invaluable for learning. It allows you to catch mistakes immediately and experiment with confidence. Wondering what a different heading looks like? Just change <h2> to <h3> and see the result instantly. This is how you see instant results and learn fast.
Keeping Your Code: Downloading Your HTML File
Once you are happy with your creation, you'll want to save it. Our tool makes this incredibly simple. Just look for the "Download" button. Clicking it will save all the code from your editor into a proper .html file on your computer. You can then open this file directly in any web browser to see your work locally, offline.
Showcasing Your Skills: Simple Sharing Options
You've built something—be proud and share it! You can send the .html file you downloaded to friends or family. Alternatively, you can copy the entire code from the editor and share it with someone else, who can then paste it into their own HTML editor online to see and interact with your work.
Your Journey into Web Development Starts Here!
Congratulations! In just a few minutes, you've gone from a blank screen to a structured, functional webpage with text, images, and links. You've learned the fundamental building blocks of HTML and experienced the power and simplicity of using an online tool.
This is just the beginning. The world of web development is vast and exciting. Now that you have a solid foundation, you can explore more HTML tags, learn CSS to style your pages, and eventually add interactivity with JavaScript. Continue using the free online tool to experiment, break things, and learn. Your next project awaits!
Frequently Asked Questions About Building Websites Online
What is an HTML viewer, and how does it help beginners?
An HTML viewer is a tool that renders HTML code into a visual webpage. For beginners, an online viewer with a side-by-side editor is incredibly helpful because it provides immediate visual feedback. This allows you to see the direct result of your code as you write it, which dramatically speeds up the learning process and makes coding less abstract.
How can I preview my HTML page instantly without downloading files?
The best way is to use an online HTML viewer. Its core feature is a real-time preview panel that updates automatically as you type in the code editor. This means you are constantly previewing your page without any extra steps like saving, downloading, or refreshing a browser.
What's the easiest way to paste HTML into a browser and see it rendered?
Pasting HTML directly into a browser's address bar won't work. The easiest method is to use an online HTML editor. Simply navigate to the website, paste your entire HTML code into the editor panel, and the rendered webpage will appear instantly in the preview panel. It's a simple, one-step process.
Can I really build a website for beginners in just 15 minutes?
Absolutely! By following the steps in this guide using a simple online editor, you can create a basic, single-page website with headings, paragraphs, an image, and a link in 15 minutes or less. While complex, multi-page websites take more time, creating your very first functional page is a quick and rewarding experience.